Wrapping the gear shifter

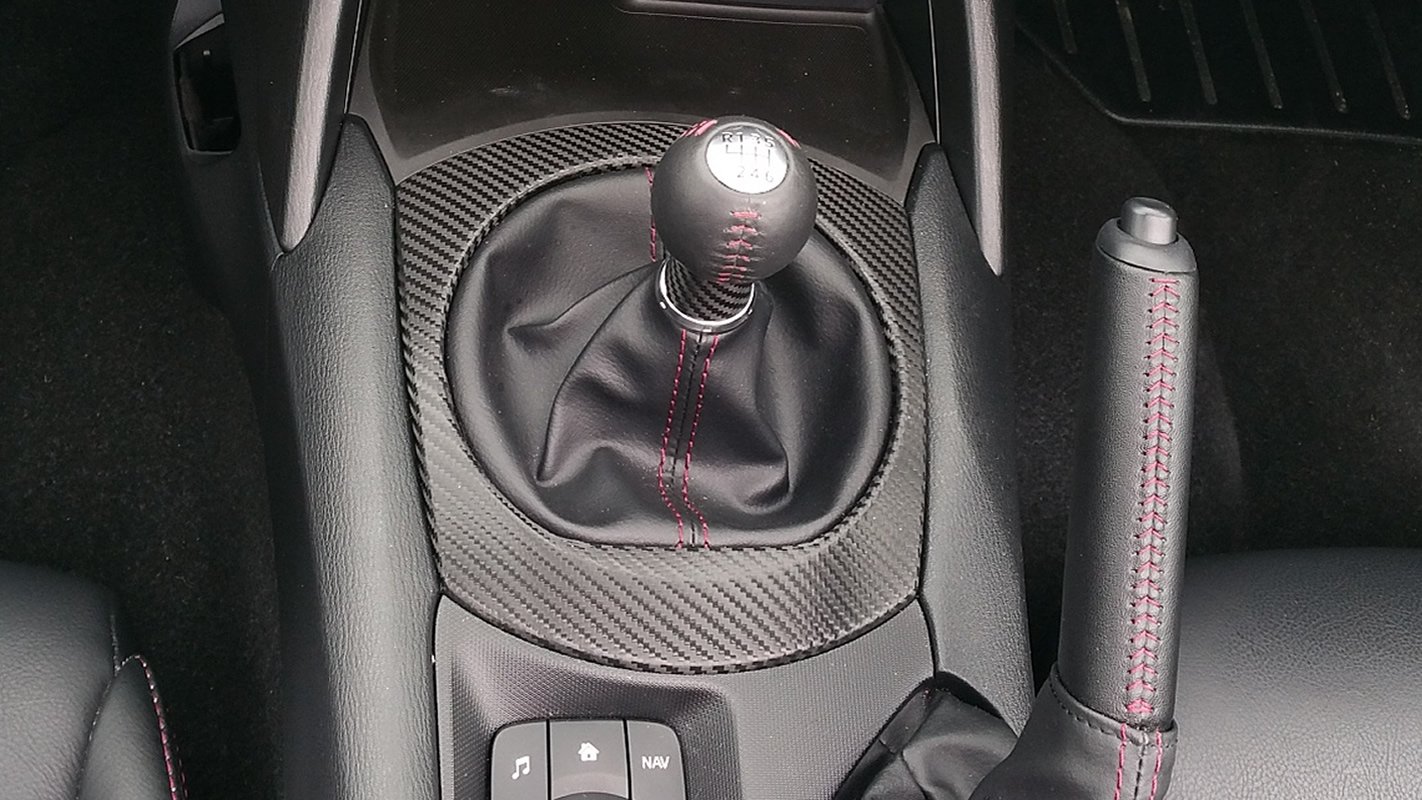
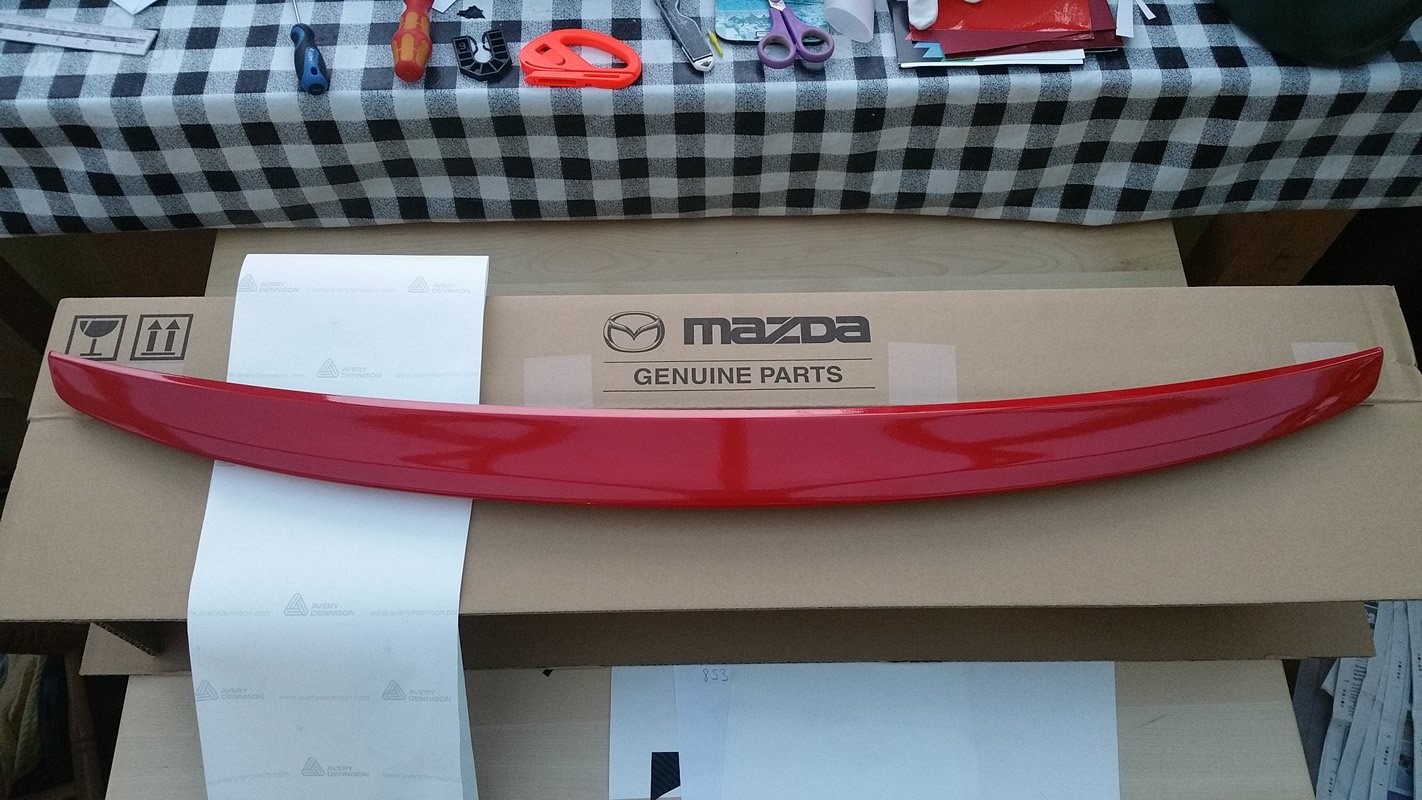
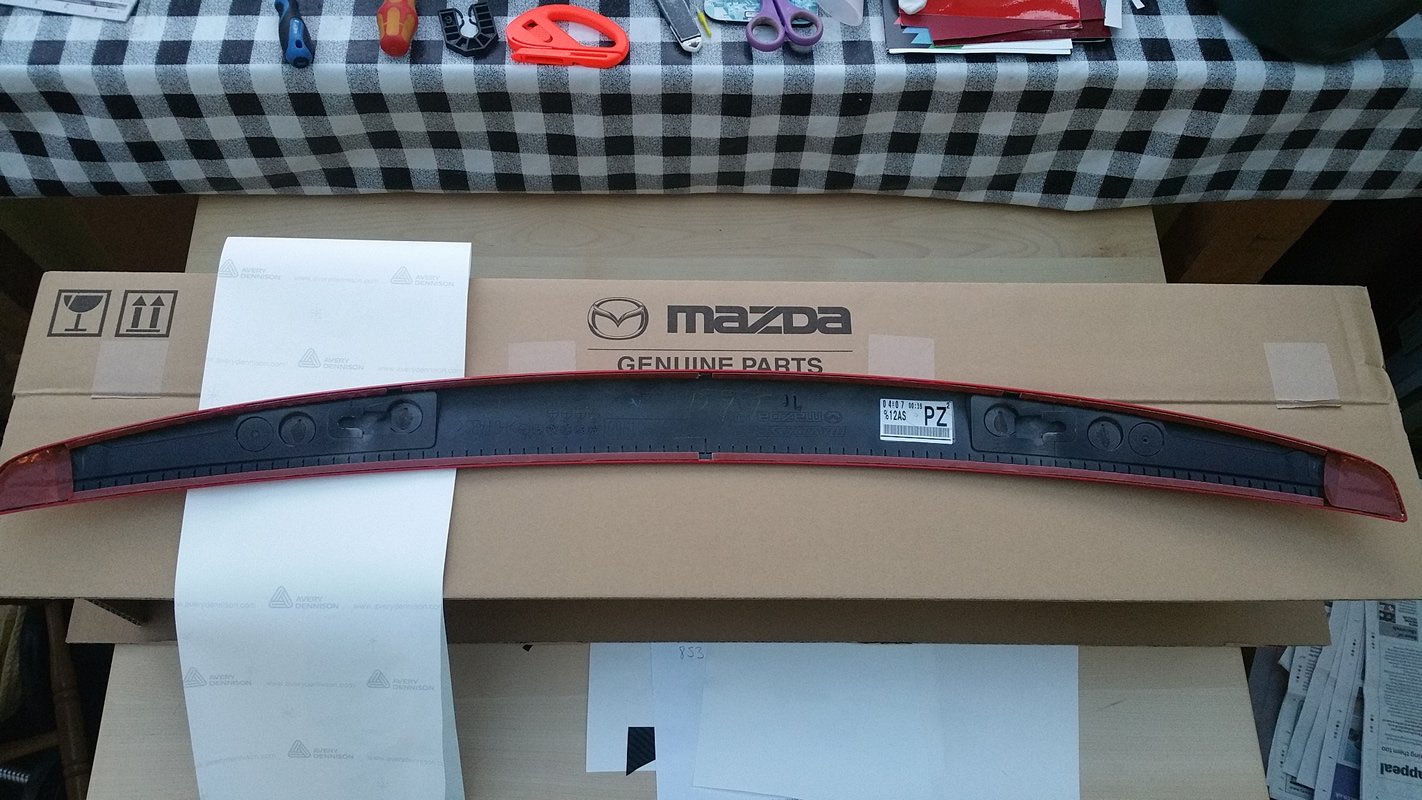
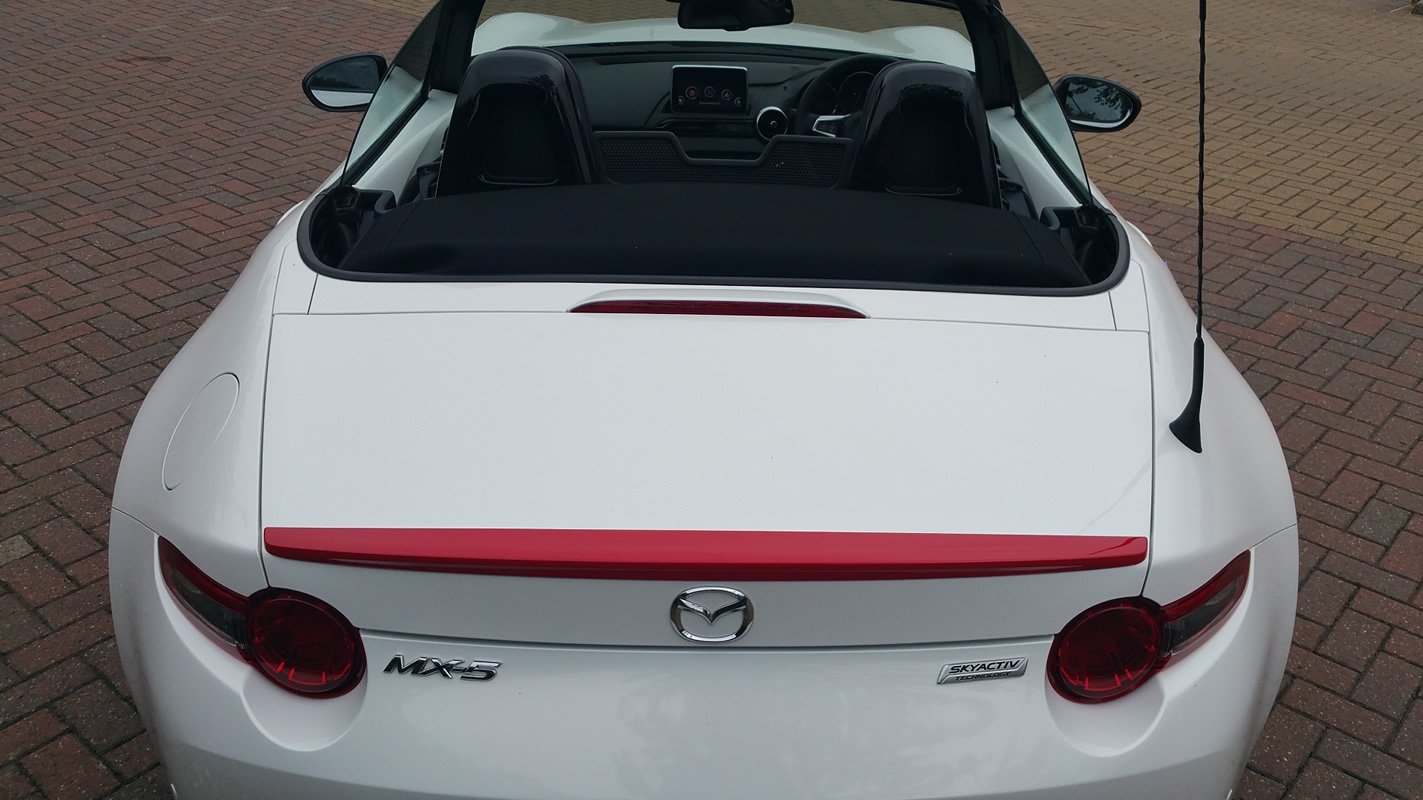
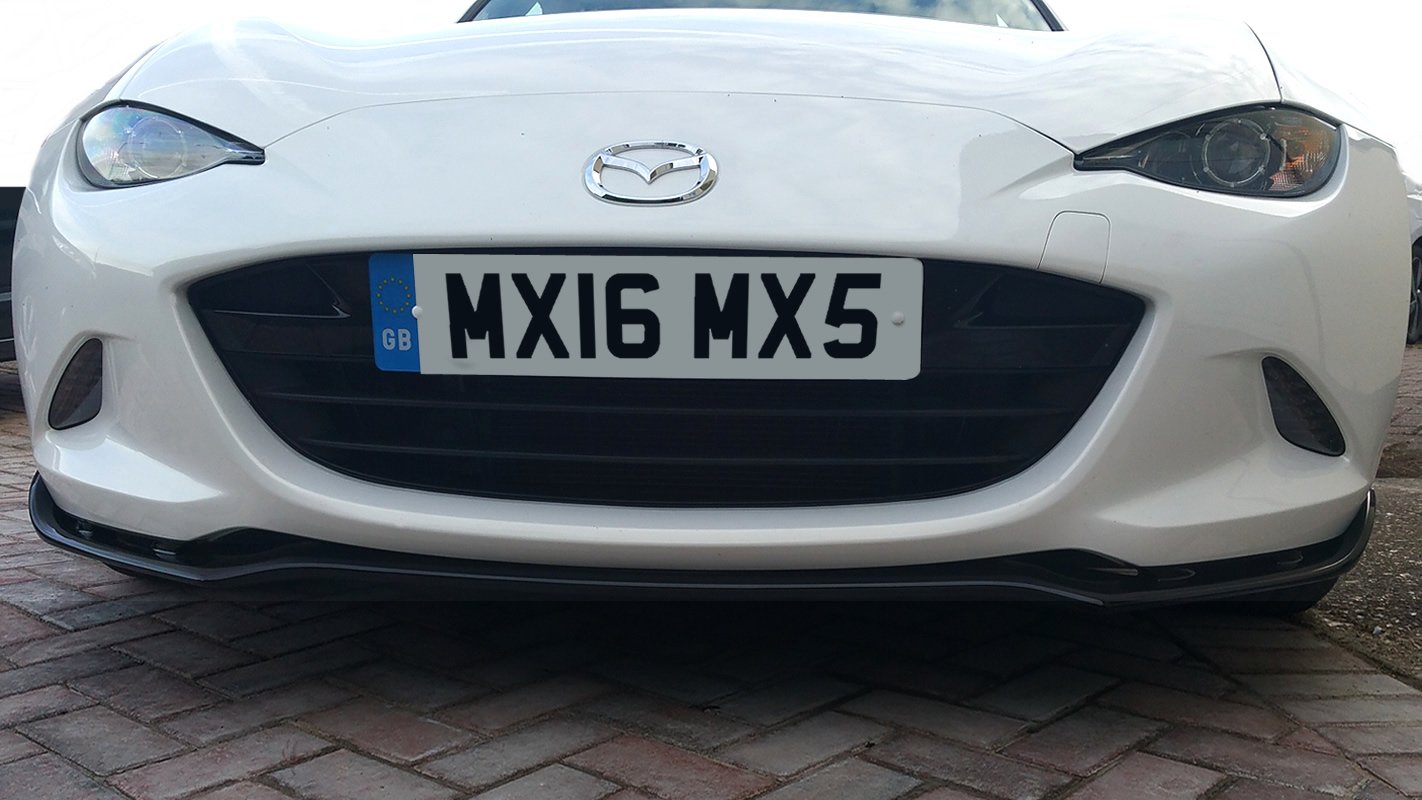
In many ways this upgrade was a bit of a milestone; it was the first time I'd dismantled sections of my MX-5. Previously I'd wrapped the wing mirrors or the boot lid spoiler but neither had required me to disassemble bit of the car. Not liking the shifter's chrome surround it was a natural place to begin. Having purchased the carbon effect wrap at the same time I bought the red wrap I was keen to see how great it looked.

The shifter before I began work
The shifter before I began work.

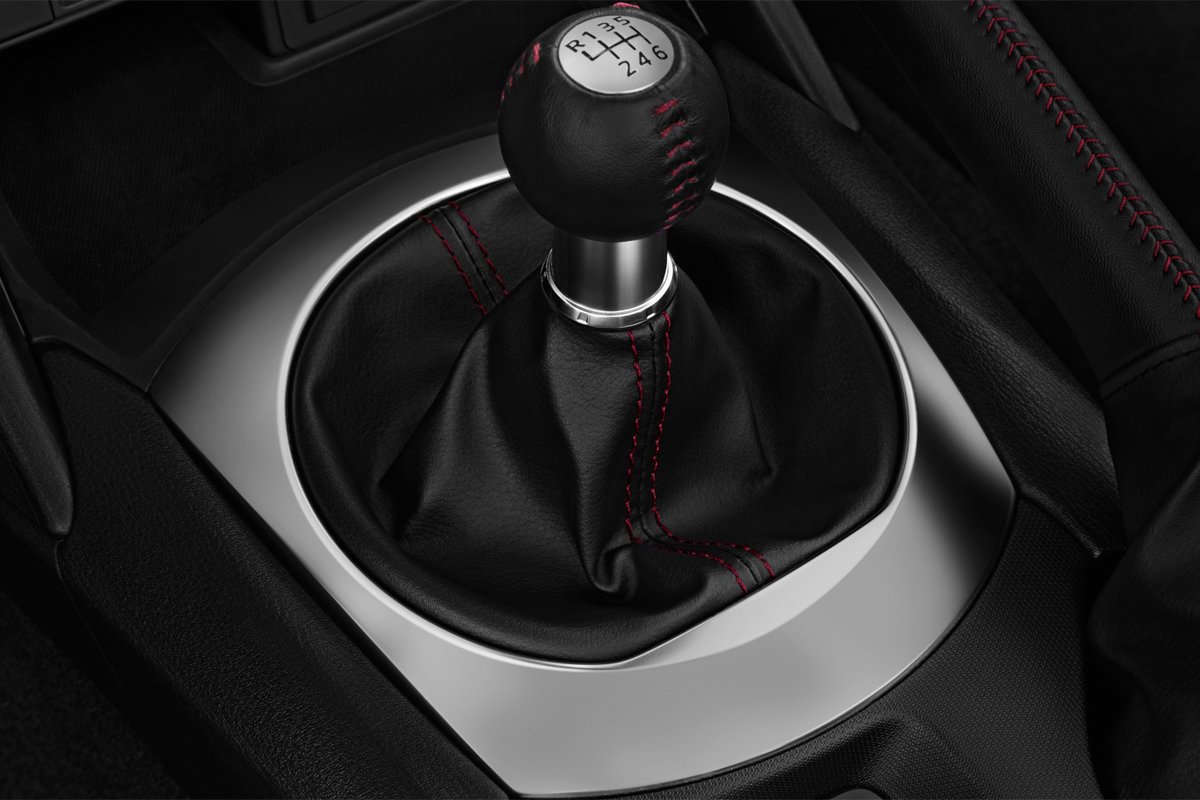
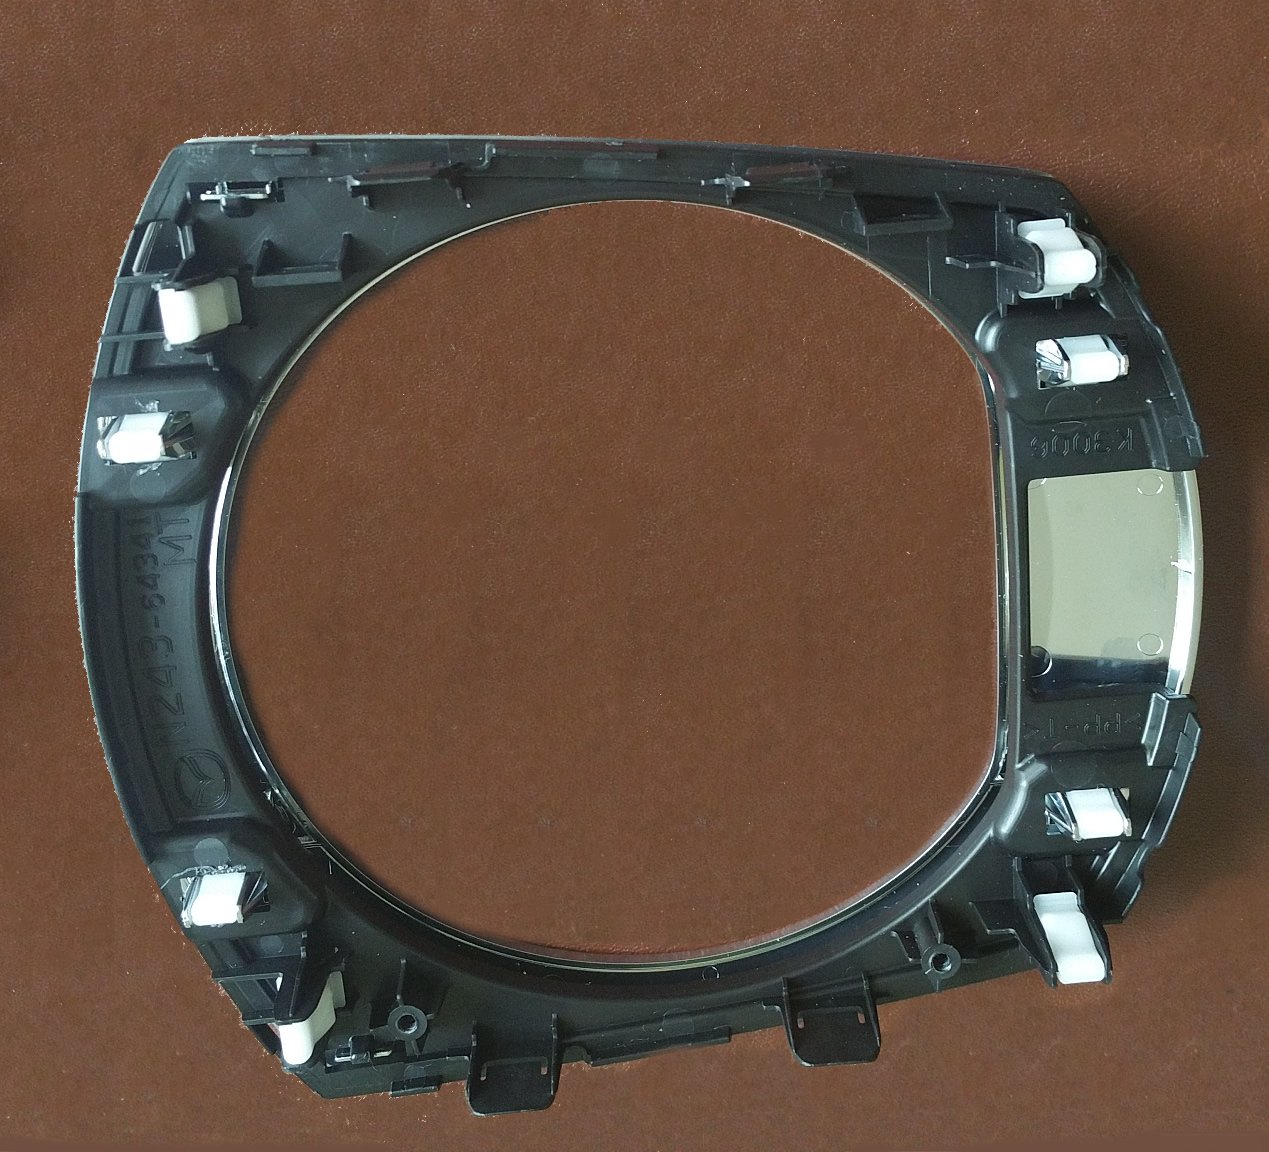
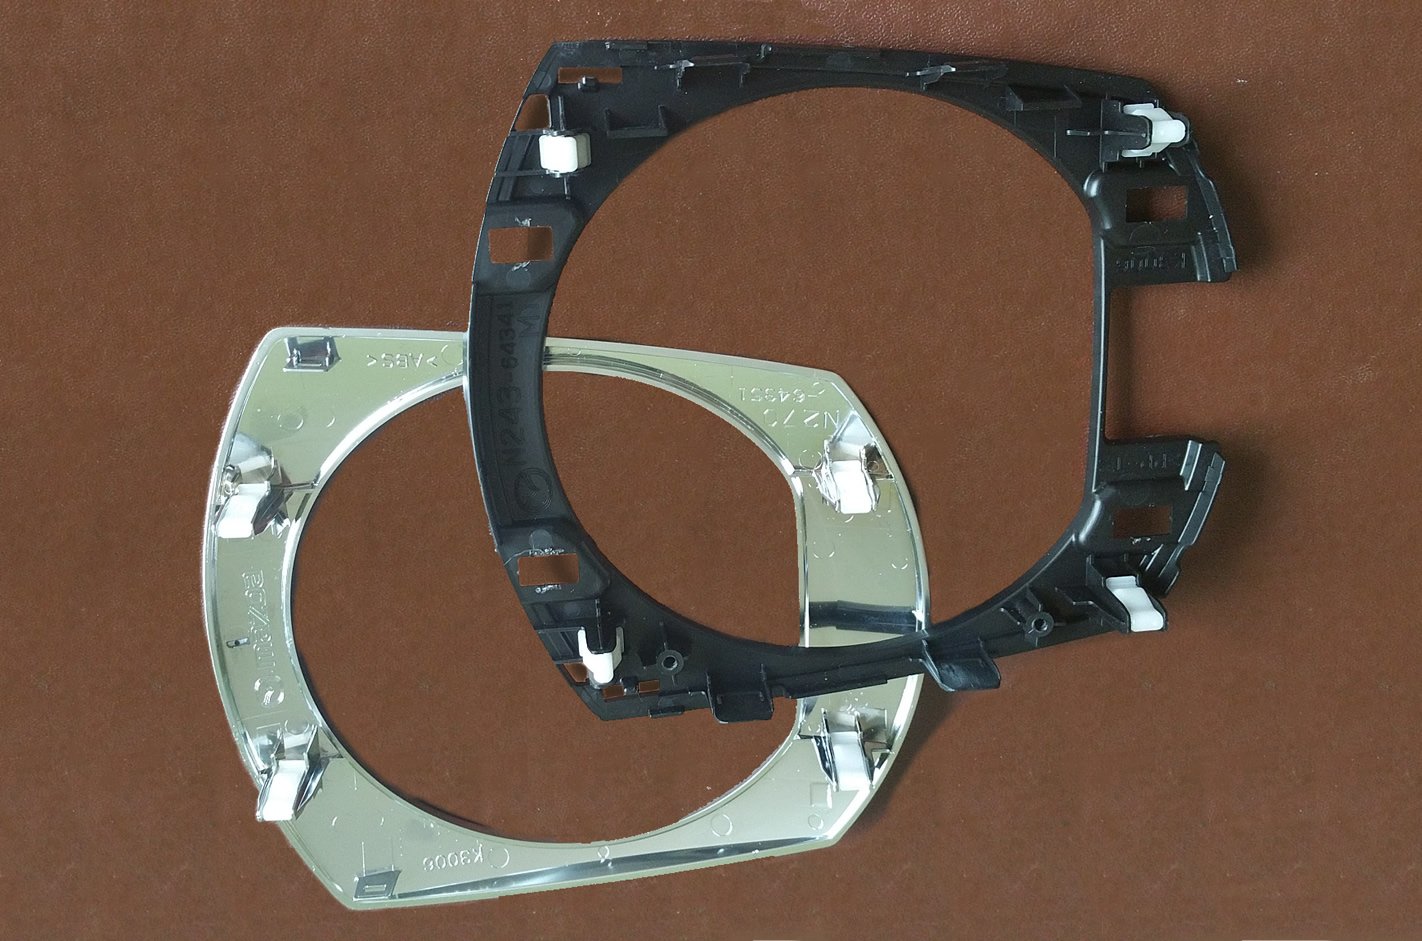
The shifter's boot is attached to the chrome surround, which required me to remove both parts in order to begin the job. The following images show how I disassembled the individual parts to separate the chrome surround I needed to wrap.

Underneath the shift boot assembly
The shift boot assembly - under side.
The shift boot cover and surround detached from the other parts
The shift boot cover and surround detached from the other parts.
The shifter surround having removed the boot cover
The shifter surround having removed the boot cover.
Both parts of the shifter surround
Both parts of the shifter surround.

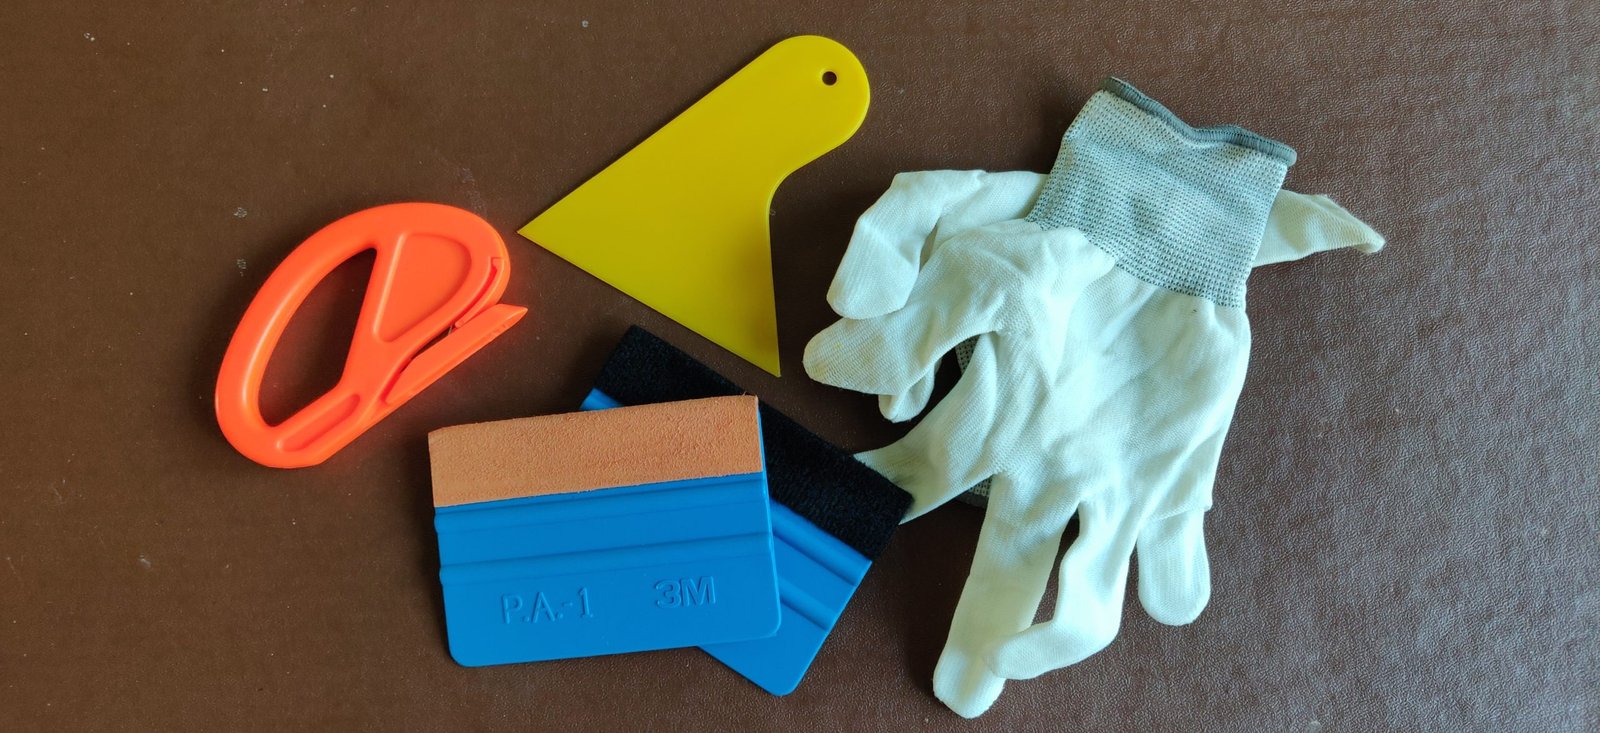
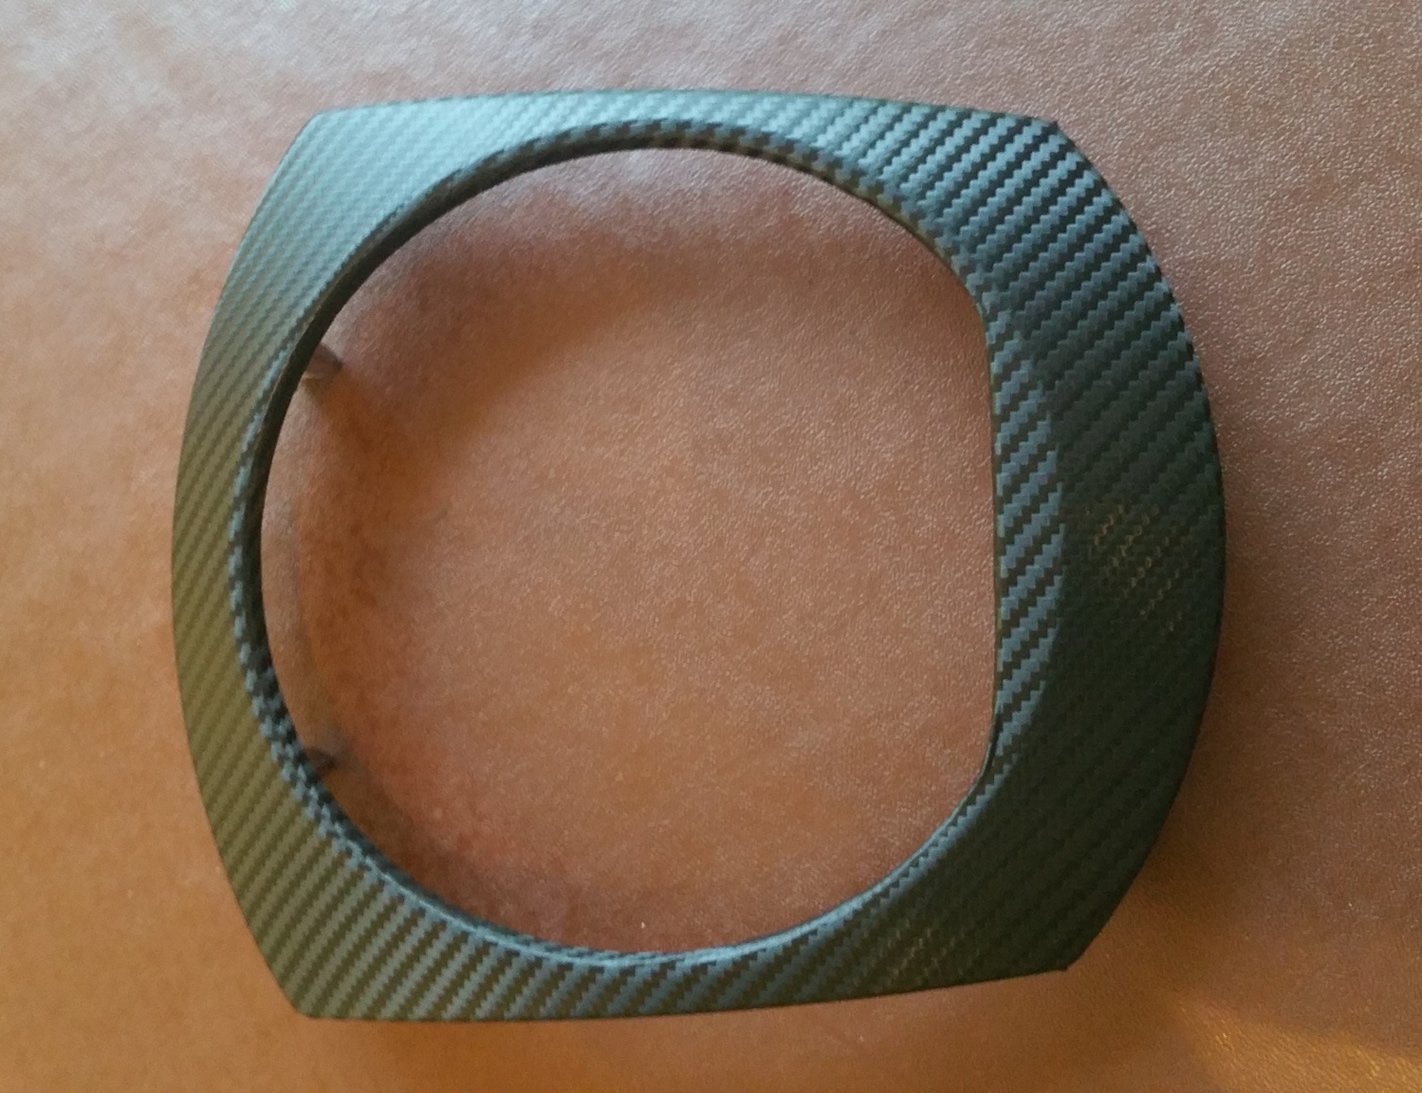
The carbon fibre effect wrap was thicker than the red wrap I used on the wing mirrors due to its texture; which made the process a little more tricky than I'd anticipated. I sealed the edges on the underside with a little contact adhesive to help bond the wrap to the plastic surface; despite having cleaned it thoroughly the adhesive on the wrap wasn't forming a strong enough bond for my liking.

The chrome surround wrapped with textured carbon fibre vinly
The chrome surround wrapped with textured carbon fibre vinly.

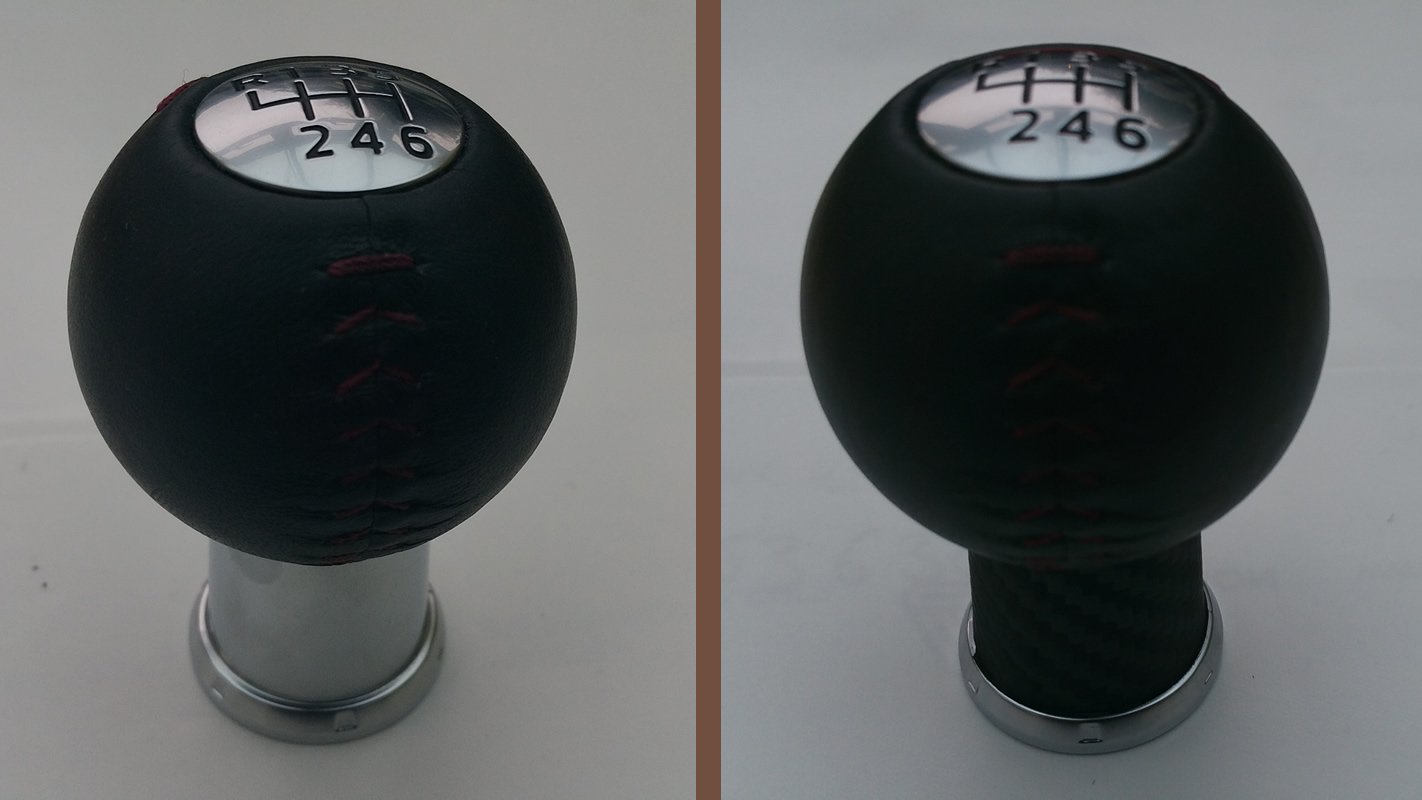
To add a finishing touch, I decided to wrap the stem of the shifter with the same wrap. Below is a before and after image showing the end result.

Before and after shots of the gear shifter stem
Before and after wrapping the shifter stem.

Once the wrap was heated to close the air release channels, I reassembled the parts and refitted them. I hope you agree the end result looks amazing; it also matches the small patches of carbon firbe on the door trims.

The completed, reassembled gear shifter

Boot spoiler & airdam skirt

Only a few days after completing the wing mirrors upgrade, I purchased two Mazda aftermarket parts; a boot lid spoiler and a front air-dam skirt from a supplier in the north of England (which has since gone out of business).

The front air-dam skirt I decided not to wrap, retaining the original black finish, but the boot lid spoiler I wrapped in red vinyl to match the wing mirrors.

It was pretty straight forward after the complex angles on the wing mirrors and the inconvenience of not being able to detach the wing mirror to be able to work on it as easily as I could the spoiler.

The finished side of the wrapped boot lid spoiler
The wrapped boot lid spoiler - top side.
The under side of the boot lid spoiler
The wrapped boot lid spoiler - under side.

Inside the spoiler on the under-side, I glued the edges to help make it durable and protect the edges while it was being fitted to the car. I then protected the edges from water ingress with clear Gorilla tape.

Gorilla tape

Due to the fact that holes needed to be drilled in the bodywork during the fitting process, I decided to have the spoiler and front skirt fitted by a Mazda dealer.

The newly fitted boot lid spoiler
The newly fitted boot lid spoiler.

I think the red spoiler looks amazing against the pearlescent white paint; whilst the front air-dam skirt looks a lot more finished than the basic trim the car was supplied with.

The newly fitted from air-dam skirt
The newly fitted from air-dam skirt.

Wrapping the wing mirrors

Don't get me wrong. I love my MX-5 but I felt she lacked any unique features that would help to give her more character. After careful thought, I decided to cover the wing mirrors with a vinyl wrap. If you've ever researched different vinyl wraps, you'll be aware that there are so many choices, aside from colour.
E.g. There are various types of adhesive; the cheaper ones might suit your wallet but don't always have the longevity of the more expensive brands.
After careful research, I elected to use Avery's Supreme Wrap because it has an air release system which helps when you're trying to remove air bubbles that become trapped under the wrap no matter how expert you are. This wonderful wrap is made in such a wide assortment of colours it's truly breath-taking. I chose one of their slightly darker reds because in bright sunlight some reds take on an orange sheen.

Wrapping tools
Wrapping tools.


Using a small collection of tools purchased on Amazon and my wife's hairdryer, I washed, dried and then cleaned the wing mirror with Isopropyl alcohol spray before beginning to experiment with my first ever wrap project.
The shape of a wing mirror is surprisingly complex, with some sharp angles which made my task a little trickier than I'd first expected. Although I wasn't happy with the end result. I kept going because I wanted to learn where I'd faced the biggest challenges. Avery has some great videos on YouTube and after a little more study, I dived in for my second attempt. Without boring you too much, I discovered the secret to success was the temperature of the wrap (not too warm), the direction you pull to remove wrinkles and the amount of force required to keep the wrap flat but not to overstretch it.


Having used cheaper wraps as well as Avery's Supreme, I can thoroughly recommend the more expensive wrap. The end results were noticeably better and it was way more forgiving to work with.
Around the edges of the wing mirror where the coloured section meets the black plastic trim, I discovered the way to finish the job was to secure the wrap to the plastic trim with a special tape called "mould and hold". It's great because it has a different type of adhesive and stick to the plastic trim really well and provided the end result I was looking for.

Close up of the finished wing mirror
Close up of the finished wing mirror.
The wing mirrors wrapped red
The wing mirrors wrapped red.

2018 Z-Sport

The Z-Sport special edition will stand-out from other Mk4 MX-5s thanks to its deep cherry red soft-top and sand-coloured leather seats. Only available in the UK, the Z-Sport is based on the 2L Sport Nav model and boasts the revised suspension and steering previously announced by Mazda at the Tokyo motor show.

The Z-Sport also boasts scuff plates, free of charge Machine Grey metallic paint and floor mats. However, despite Z-Sport floor mats being included in the marketing material, the brochure's small print indicates they were sold as an optional extra.

  • Release date: March 2018
  • Number in UK: 300 (exclusive UK only model)
  • Engine size: 2 litre
  • Exterior Highlights: Deep Cherry Soft Top roof, 17" Black BBS alloy wheels, Machine Grey metallic paint, sports suspension featuring Bilstein dampers
  • Interior highlights: Sand leather seats Soul Red rear spoiler, Z-Sport scuff plates, Z-Sport floor mats (optional extra), Z-Sport interior badge.

2017 Arctic

Based on the 1.5L SE-L Nav, the Arctic special edition boasts Blue Reflex Mica paint, leather seats and a number of silver accents including the door mirrors, front pillar trim (around the windscreen) and the cup holders. Overall the combination of icy blue paint and silver give the MX-5 Arctic a distinctive look and feel.

The silver theme continues with 16" silver alloy wheels and chrome scuff plates. Limited to 400 cars, the Arctic special edition is yet another model Mazda have released exclusively in the UK.

  • Release date: February 2017
  • Number in UK: 400 (UK exclusive)
  • Engine size: 1.5 litre
  • Exterior Highlights: Blue Reflex Mica paint, 16" silver alloy wheels, silver front pillar trim, silver fashion bar cladding, silver door mirrors, rear parking sensors, dusk-sensing lights
  • Interior highlights: Black leather seats, MX-5 stainless steel scuff plates.

2016 Icon

The 2016 Mx-5 Icon special edition made its public debut at the Goodwood Festival of Speed. With a choice of either Meteor Grey Mica or Crystal White Pearlescent paint, the Icon is the first special edition version of the Mk4 Mazda MX-5 to feature the 1.5-litre SKYACTIV-G engine.

Only available in the UK, the Icon has a striking design and unique colour scheme, with its Soul Red Metallic wing mirrors, rear spoiler and front skirt. The unique look is further boosted by red side decals and 16-inch Gunmetal alloy wheels. Based on the 2016 SE-L Nav, the icon has a number of different upgrades including black leather seats, rear parking sensors, dusk-sensing lights and rain-sensing wipers.

  • Release date: August 2016
  • Number in UK: 600 (none in RF)
  • Engine size: 1.5 litre
  • Exterior Highlights: Soul Red front airdam skirt, Soul Red rear spoiler, Soul Red door mirrors, unique icon side graphics, 16" gunmetal alloy wheels, choice of white or grey paint, rear parking sensors, dusk-sensing lights
  • Interior highlights: Black leather seats.

2015 Sport Recaro

The Sport Recaro enhances the sharp looks of the Mk4 MX-5 by adding the full Aero kit, namely a front and rear airdam spoiler, side skirts and boot lid lip all in brilliant black. To complement these additions Mazda also added Piano Black door mirrors and 17" diamond cut alloys wheels engraved with the MX-5 logo. Mazda are offering the car in a choice of either Soul Red or Ceramic White metallic paint finishes.

To further complement these upgrades and probably with serious sports car fans in mind, Mazda elected to add heated Recaro seats with red piping and red stitching, which is also reflected on the steering wheel, gear shifter, dashboard and handbrake. The Recaro seats add superb lumbar and lateral support, making the MX-5 Sport Recaro a stand-out special edition.

  • Release date: Nov 2015
  • Number in UK: 600 (none in RF)
  • Engine size: 2 litre
  • Exterior Highlights: Full Brilliant Black sports aero kit (front, side and rear airdam skirts).
  • Interior highlights: Heated Recaro seats, alloy pedal set, Alcantara dashboard trims.